

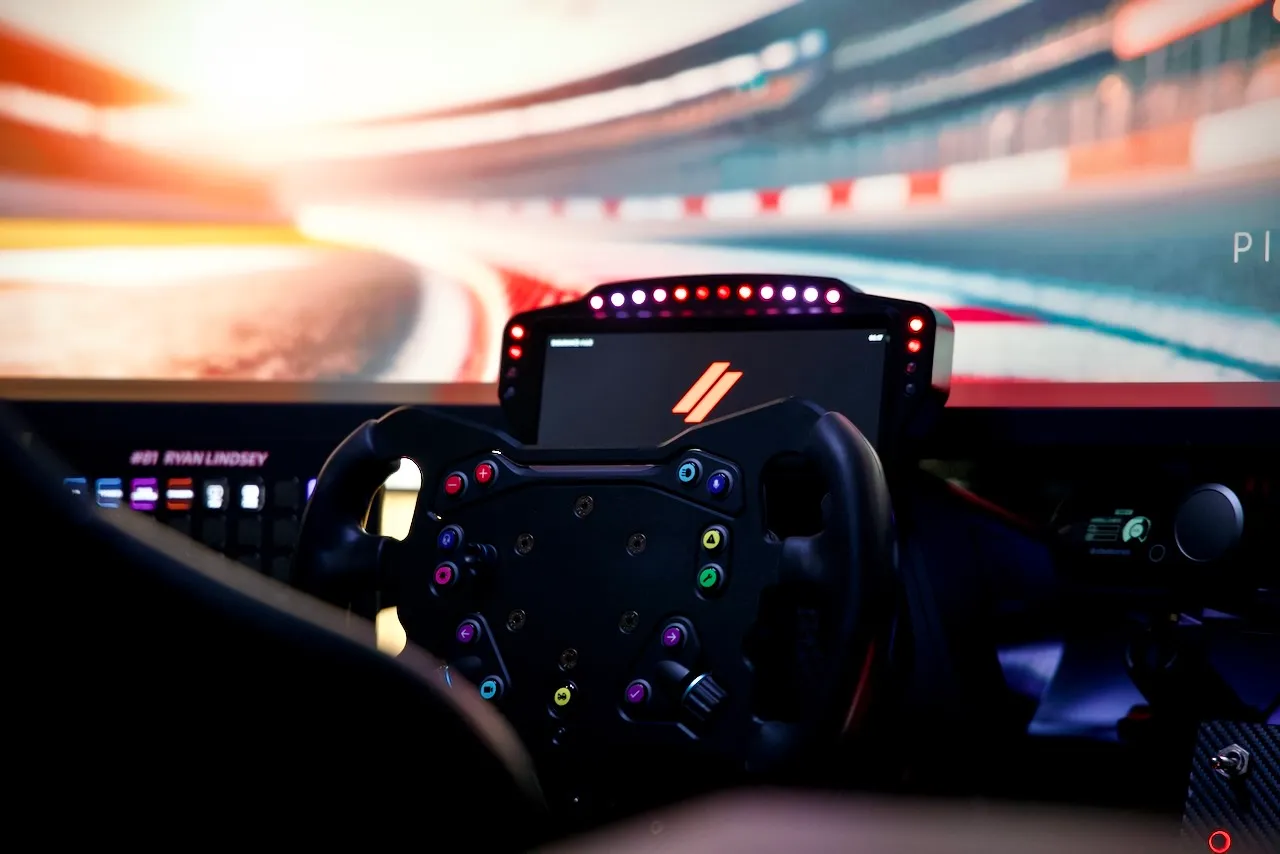
A while back I wired a strip of addressable LEDs behind my monitors and tied them to the game. Brake hard into a corner and the cockpit washes a little warmer. Run wide across the kerbs and the light shifts with the scene on screen. It is a small thing that makes the rig feel a lot more alive. After some trial and error and inspiration from others, I ended up designing an bespoke roof panel and ambient lighting system for my rig, and put the whole thing on GitHub.
The project is named cockpit-ambient-lighting, it is MIT licensed, and you can read or fork all of it here: github.com/pixelsonly/cockpit-ambient-lighting.
This post is the technical walk-through. If you just want to build it, the repo README and the two guides in /docs have the step-by-step.
What it actually does
The effect is driven by real telemetry, not a canned animation. SimHub watches the game, samples the colors on screen into a set of zones, and streams those colors out to an Arduino over USB. The Arduino spreads them across two LED panels that are installed in a sandwich construction that prevents all light leak. Because the source is the live frame, the lighting tracks whatever you are doing: track surface, sky, sunset, the glow of your own brake lights. Recent enhancements from Daniel Newman Racing and their SimHub plugin have taken this to the next level. That team continues to deliver incredible updates.
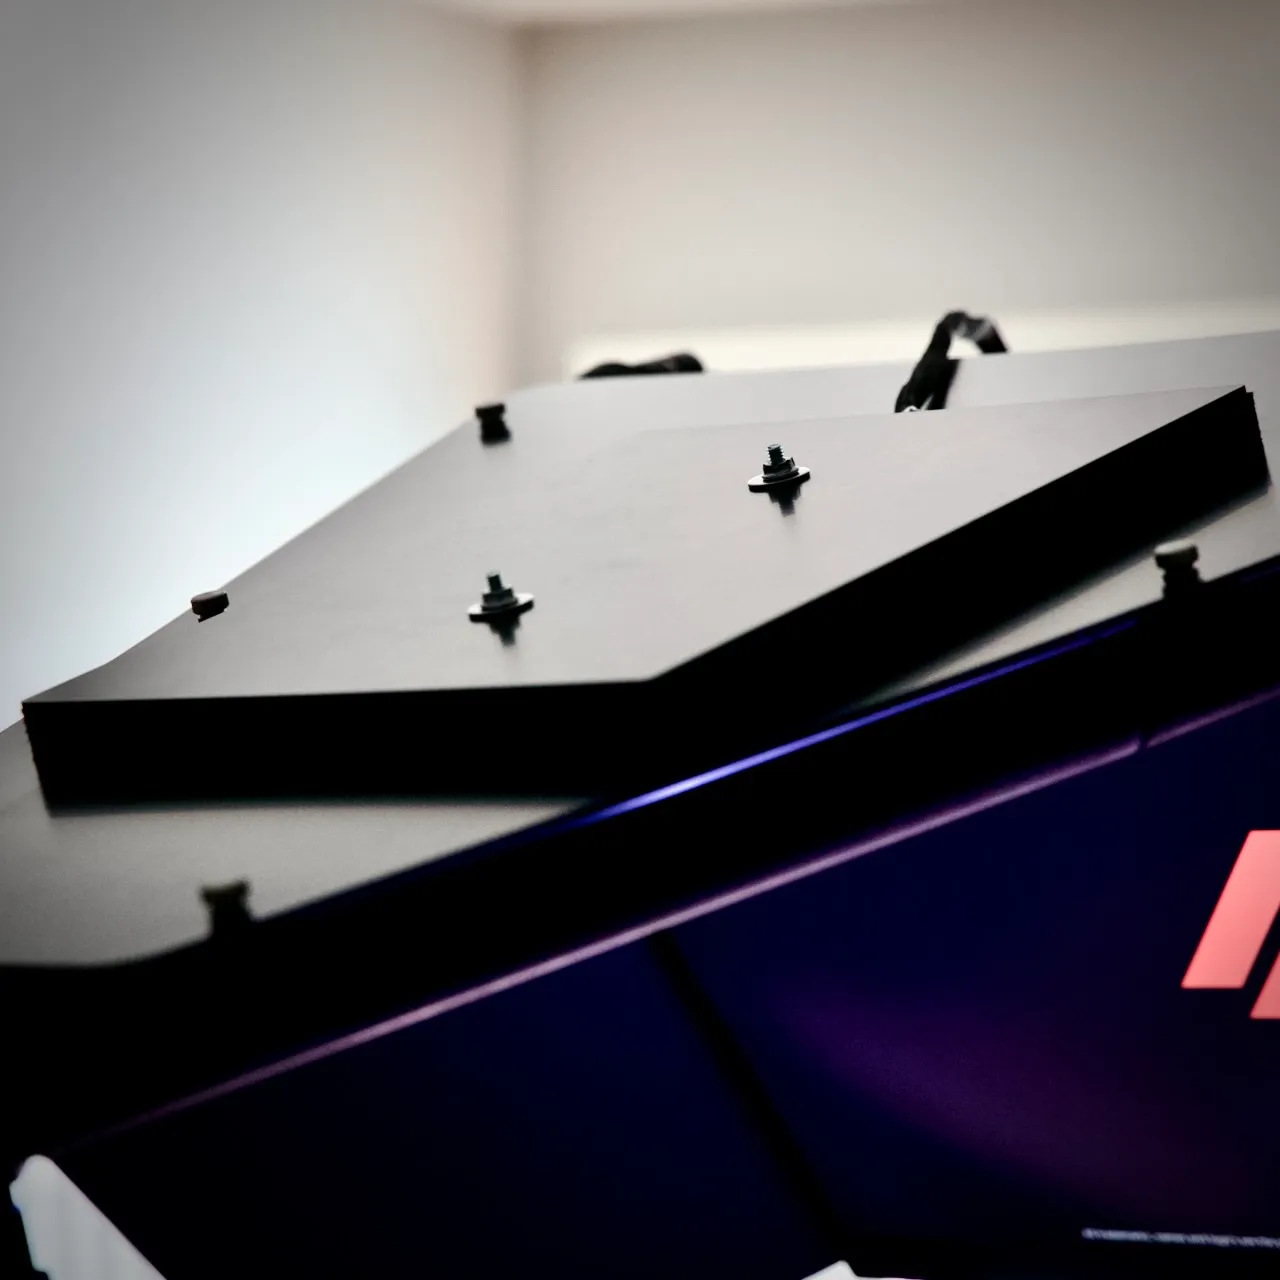
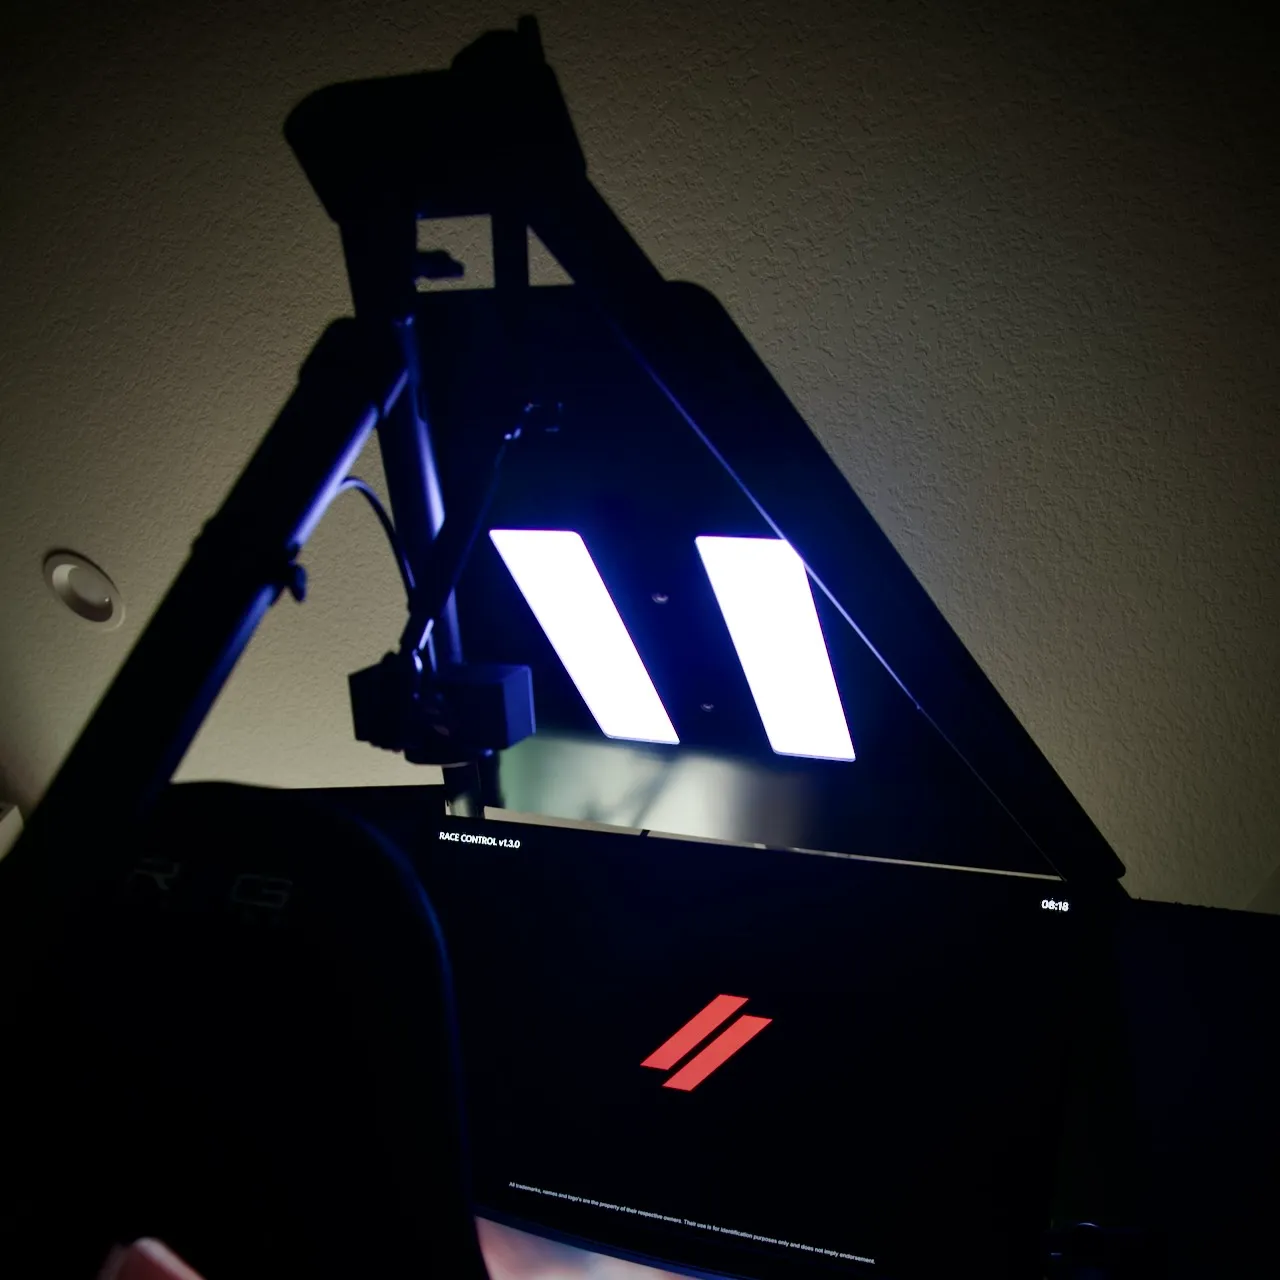
The parts
I kept the bill of materials deliberately simple:
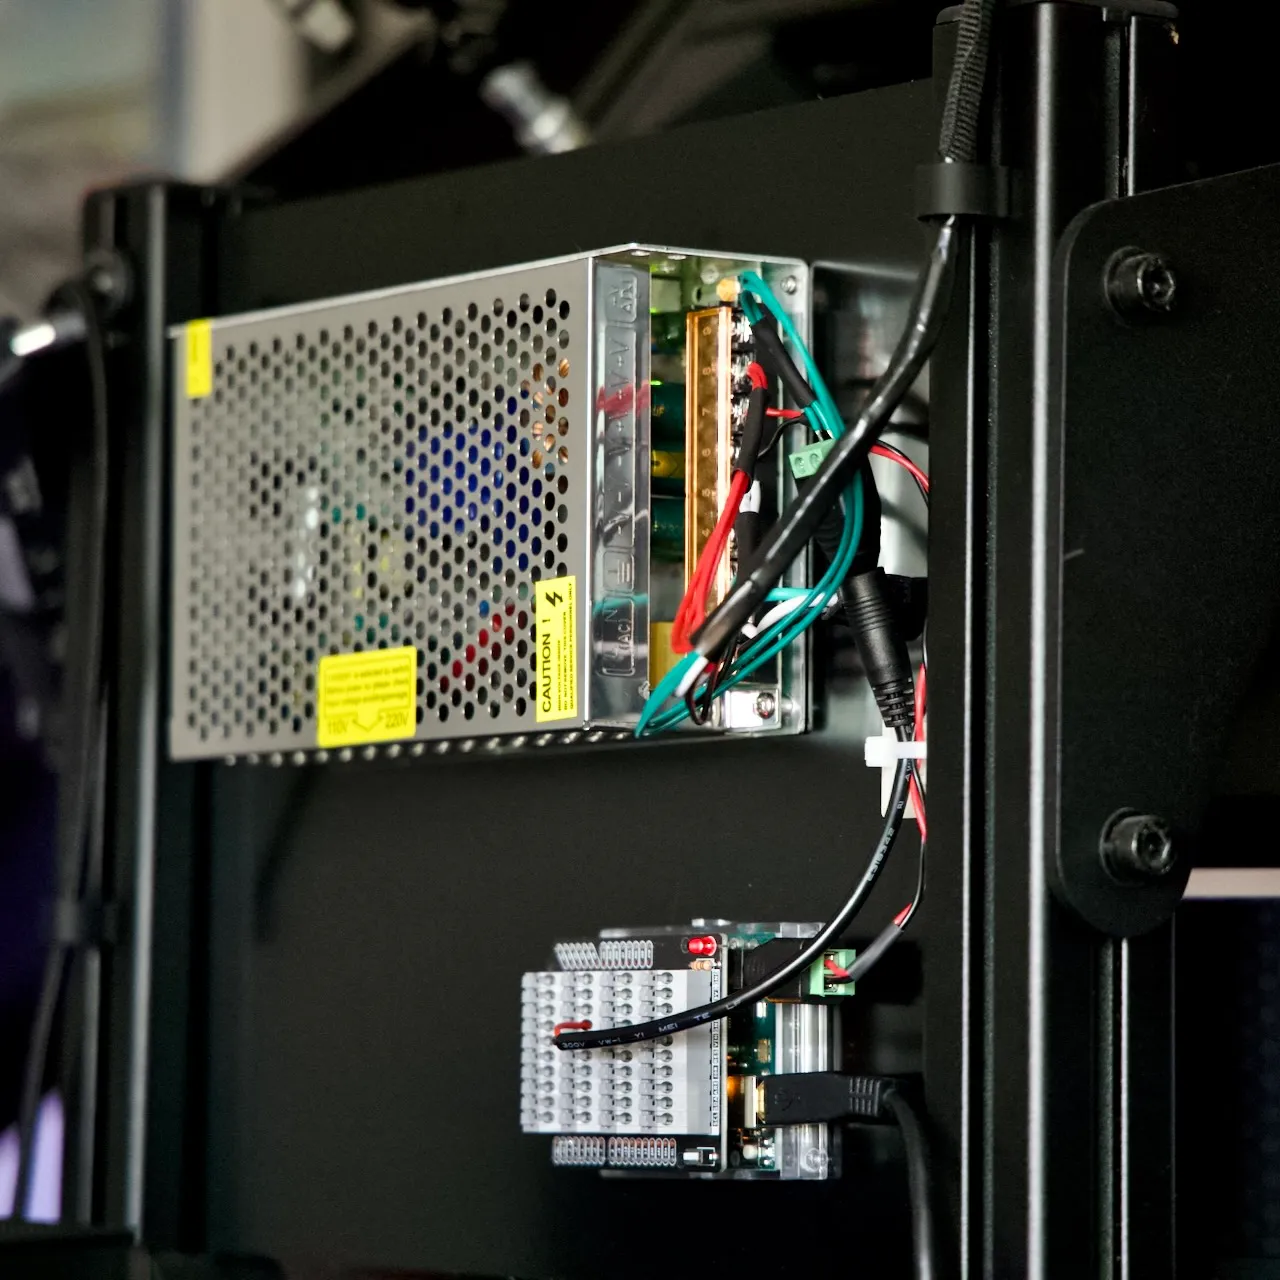
- 1x Arduino Uno R3, the classic ATmega328P board
- 1x Terminal block shield kit for Uno, makes testing and install a breeze
- 2x BTF-LIGHTING WS2812B 8x32 panels, 256 pixels each, 512 LEDs total
- 1x dedicated 5V power supply, sized for the panels (more on that below)
- 1x USB-A cable, high quality, from the Arduino to the PC running SimHub
The left panel data line runs off pin D6, the right off pin D5, each through its resistor into the panel’s DIN. Both panels show identical content, so it genuinely does not matter which physical panel lands on which pin.
How the firmware works
The Arduino speaks Adalight, a tiny and very standard serial protocol that SimHub already knows how to send. Each frame starts with the magic word “Ada” (bytes 41 64 61), a high and low byte for the LED count, a one-byte checksum computed as (countHigh ^ countLow) ^ 0x55, and then three bytes of RGB per zone. It all runs at 115200 baud over the USB serial link.
On the SimHub side I use the Daniel Newman Racing plugin and ambient LED profile, which does the heavy lifting of sampling the screen and emitting a clean left and right color pair. The firmware takes however many zones arrive, from 2 up to 256, and spreads each one proportionally across the panel so you can dial anything from a simple two-color wash to a fine gradient without touching the code. Color handling is done with the FastLED library.
The fun constraint
The detail I am most quietly proud of is a memory trick. The ATmega328P on an Uno has only 2 KB of SRAM. Driving 512 independent LEDs would need three bytes each, or 1536 bytes, just for the pixel buffer. That is most of your RAM gone before any of the actual program runs, and it leaves the board uncomfortably close to the edge.
Since both panels show the same thing, I never store 512 pixels. The firmware keeps a single 256-LED buffer (768 bytes), reverses it for one side so the two panels mirror each other instead of running off in the same direction, and clocks that one buffer out to both pins. Same visual result, less than half the memory, and plenty of headroom left over. A REVERSE_LEFT_INSTEAD flag flips which side gets mirrored if your panels are mounted the other way around. In a future iteration, I may consider leveraging more powerful hardware e.g. ESP32-based, and see where I can take this next.
There is also a power-on self-test. At boot the panels run a red, then green, then blue sweep before going live. If one side is mis-wired or a data line is loose, you see it immediately instead of chasing a dark panel mid-session.
A word on power
This is the part people skip and then learn the hard way. WS2812B LEDs pull up to roughly 60 mA each at full white. Across 512 of them that is about 30 A. That is nowhere near what a USB port or the Arduino’s 5V pin can deliver, so the panels get their own dedicated 5V supply (I size it around 40 A for both panels, or about 20 A if you only run one). The Arduino shares ground only with that supply and is never asked to feed the LEDs.
The tempting shortcut is to cap brightness in software to stay under budget, but that dims the output and changes how the SimHub effect is meant to look. I would rather give it the power it wants and keep the colors honest. The hardware guide in the repo walks through the budgeting math in full.
Build it yourself
Everything you need is in the repo. The configurable bits live as constants at the top of cockpit-ambient-lighting.ino (LEDS_PER_PANEL, LEFT_PANEL_PIN, RIGHT_PANEL_PIN, and that mirror flag). Compile it with the Arduino IDE or with arduino-cli using the pinned profile in sketch.yaml, flash the Uno, point SimHub’s Adalight device at the right serial port, and you are running.
- Repo: github.com/pixelsonly/cockpit-ambient-lighting
- Hardware and power guide:
docs/HARDWARE.md - SimHub setup:
docs/SIMHUB_SETUP.md - License: MIT, so use it, change it, ship it
If you build one, or you spot something I got wrong, open an issue or a pull request. I would love to see what people do with it.
RL